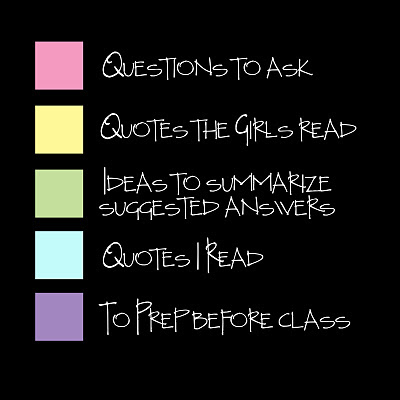
I don't even bother with the manual I get at the beginning of the year. I just copy and paste the lesson into Microsoft Word. I then open a second document to copy and paste the quotes and scriptures I will hand out to the girls before class, so they are ready to be cut up and handed out.
To do the highlighting, I don't actually use the highlight tool in Word...I use "Shading". If you don't know how to use shading, here's how it is done:
1. Highlight desired text

2. Select the FORMAT menu
and then BORDERS AND SHADING

3. Select SHADING and your color choice

3a. This is just personal preference, but I like to just have the text colored, not all the way to the margins, so I like to select text instead of paragraph
4. And Voila!

I have attached here the link to my highlighted Lesson #1 as well as the scriptures and quotes ready to be printed, cut up, and handed out

link to Daughter of God Poster

Link to Father and Daughter labels for top of columns

No comments:
Post a Comment